Learn how PurchasePlus helps your Organization to manage the Products that you hold in Inventory.
Jump to:
- Creating and Managing Transfers
- Importing and Exporting Transfers
- Completing Transfers
- Transfer Logs
What is a Transfer?
A Transfer is a way to manage (and account for) the movement of Stock Items between Stock Locations.
A Transfer can be created manually at any time if the user has the ‘Manage Transfers’ permission, or they may be created automatically during certain actions - e.g. Receiving Goods, or during the initial setup of Opening Balances in a Location.
Transfer Notes are created for each type of transfer, where you can view a detailed summary of the Transfer’s Origin, Destination, transferred Stock Items and other important information.
Types of Transfers
There are many different types of Transfers in the PurchasePlus Inventory module:
- Stock Transfer: used for moving Stock Items from one Location to another,
- Stock Adjustment: used for adjusting the quantity of one or more Stock Items in a Stock Location,
- Stock Variance: used to Transfer the variance between the Expected quantity and the Actual quantity of Stock Items in a Stock Location. This is usually done as part of a Stocktake.
- Opening Balance Transfer: used to populate Stock Items in a Location for the very first time. The initial Opening Quantity will be transferred from your Opening Balances Location. This can be done via an import of a CSV. Please see our Importing Opening Balances by CSV article for more information.
- Stock Receipt: used to account for a Transfer of Stock Items from one of your Suppliers into your Stock Location. This Transfer is created automatically when Receiving Goods from a Purchase Order, into an Inventory Location.
Transfer Statuses
Each Transfer has a Status which indicates where the Transfer is in its lifecycle. The possible Transfer statuses are:
- Open: The Transfer has been created, but is not yet complete. In the Open state, a Transfer can be edited by users with the ‘Manage Transfers’ permission. Stock Items can still be added to the Transfer, and some Settings of the Transfer can be edited while in the Open state. When it is appropriate, an Open Transfer can be manually marked as Complete by any user who has the 'Complete Transfers' permission.
- Complete: The Transfer has been finalised, either manually by a User with the ‘Complete Transfers’ permission, or automatically as part of certain actions - e.g. Receiving Stock Items into your Inventory. The Stock Items on the Transfer Note have been decremented from the Origin Location, and Incremented at the Destination Location. No new Stock Items can be added to the Transfer, and no Settings can be edited on a Completed Transfer. Once in the state of Complete, the Transfer cannot be cancelled or reversed, as the movement of Stock Items and all of the important calculations resulting from this, have been actioned.
- Cancelled: An Open Transfer can be ‘Cancelled’ before it is marked as Complete, and no further action can be taken on the Transfer once it is in the Cancelled state.

Viewing Your Transfers
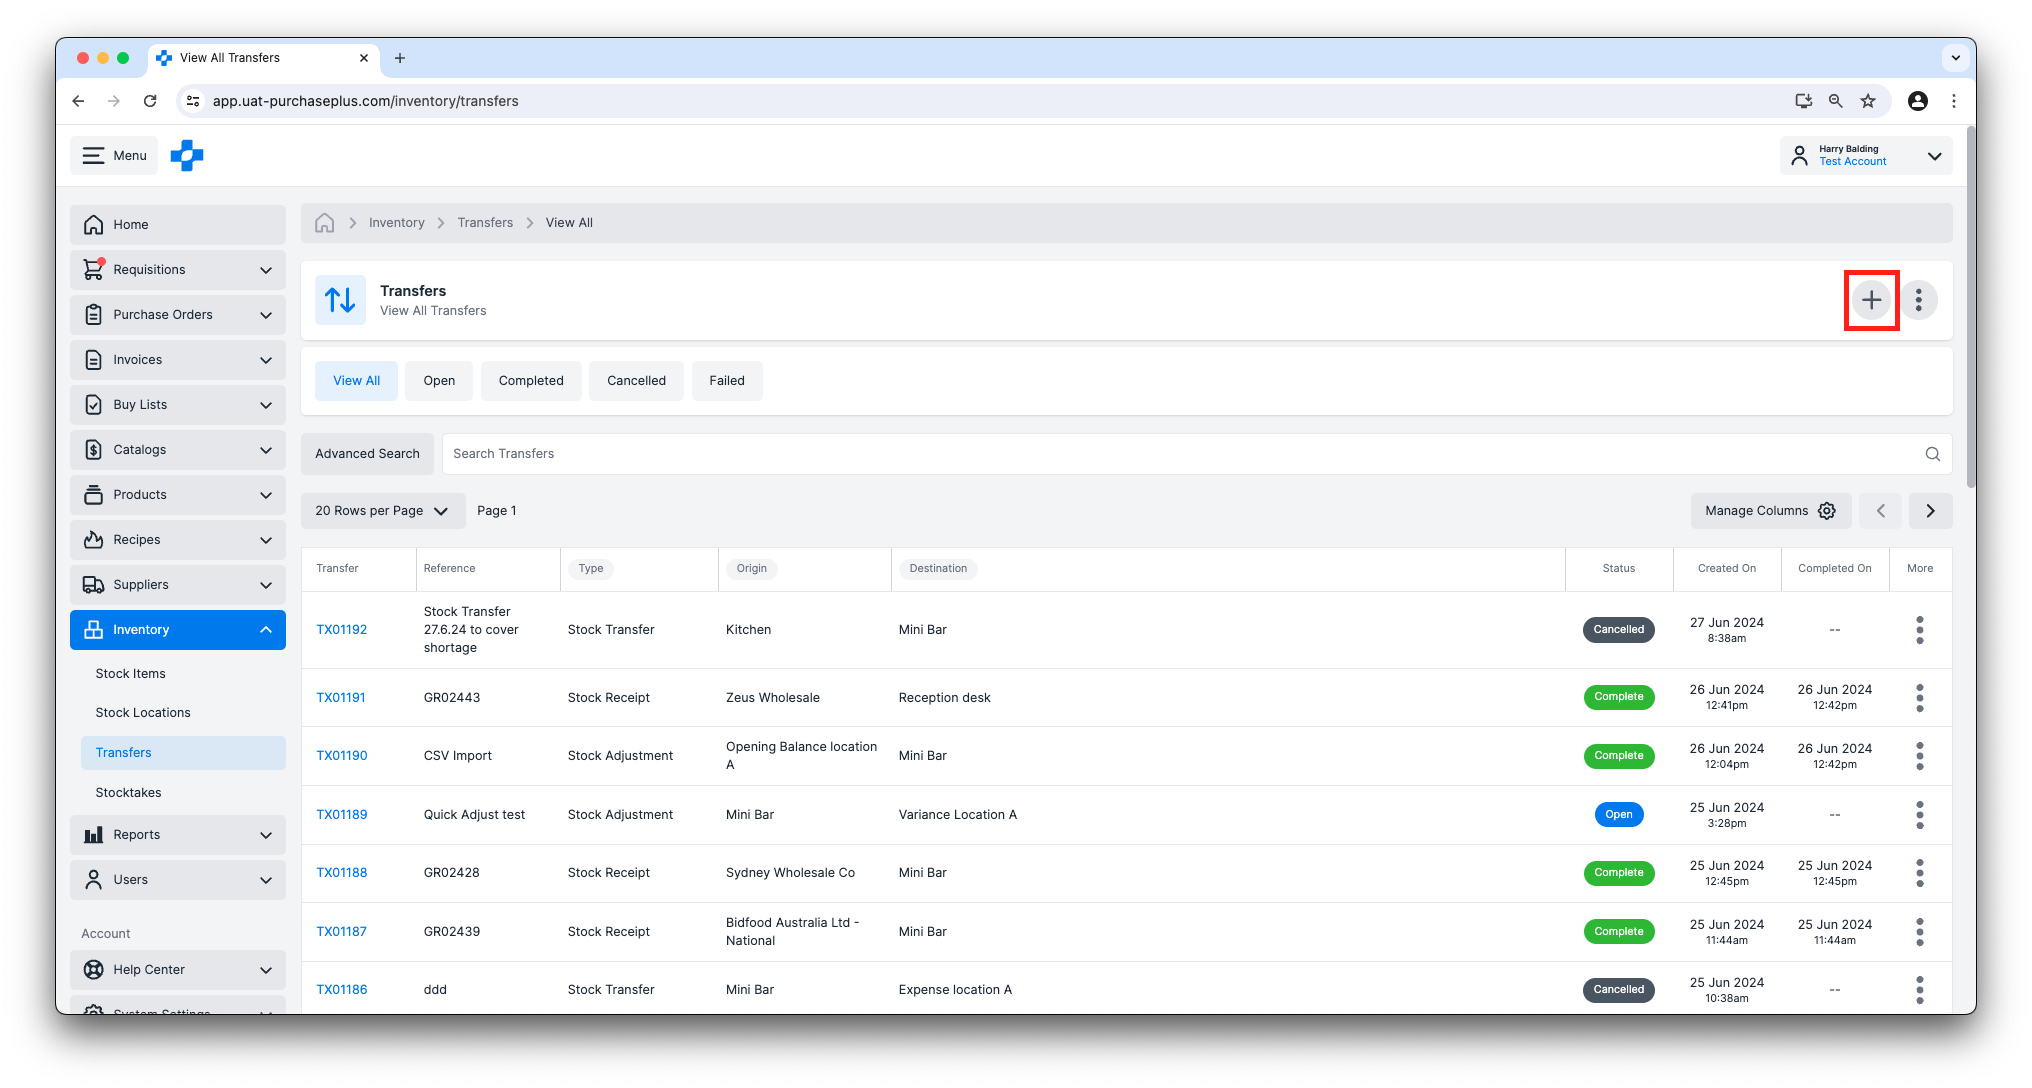
Users can view Transfers across all of their Locations by navigating to [Inventory] → [Transfers] in the side navigation bar.

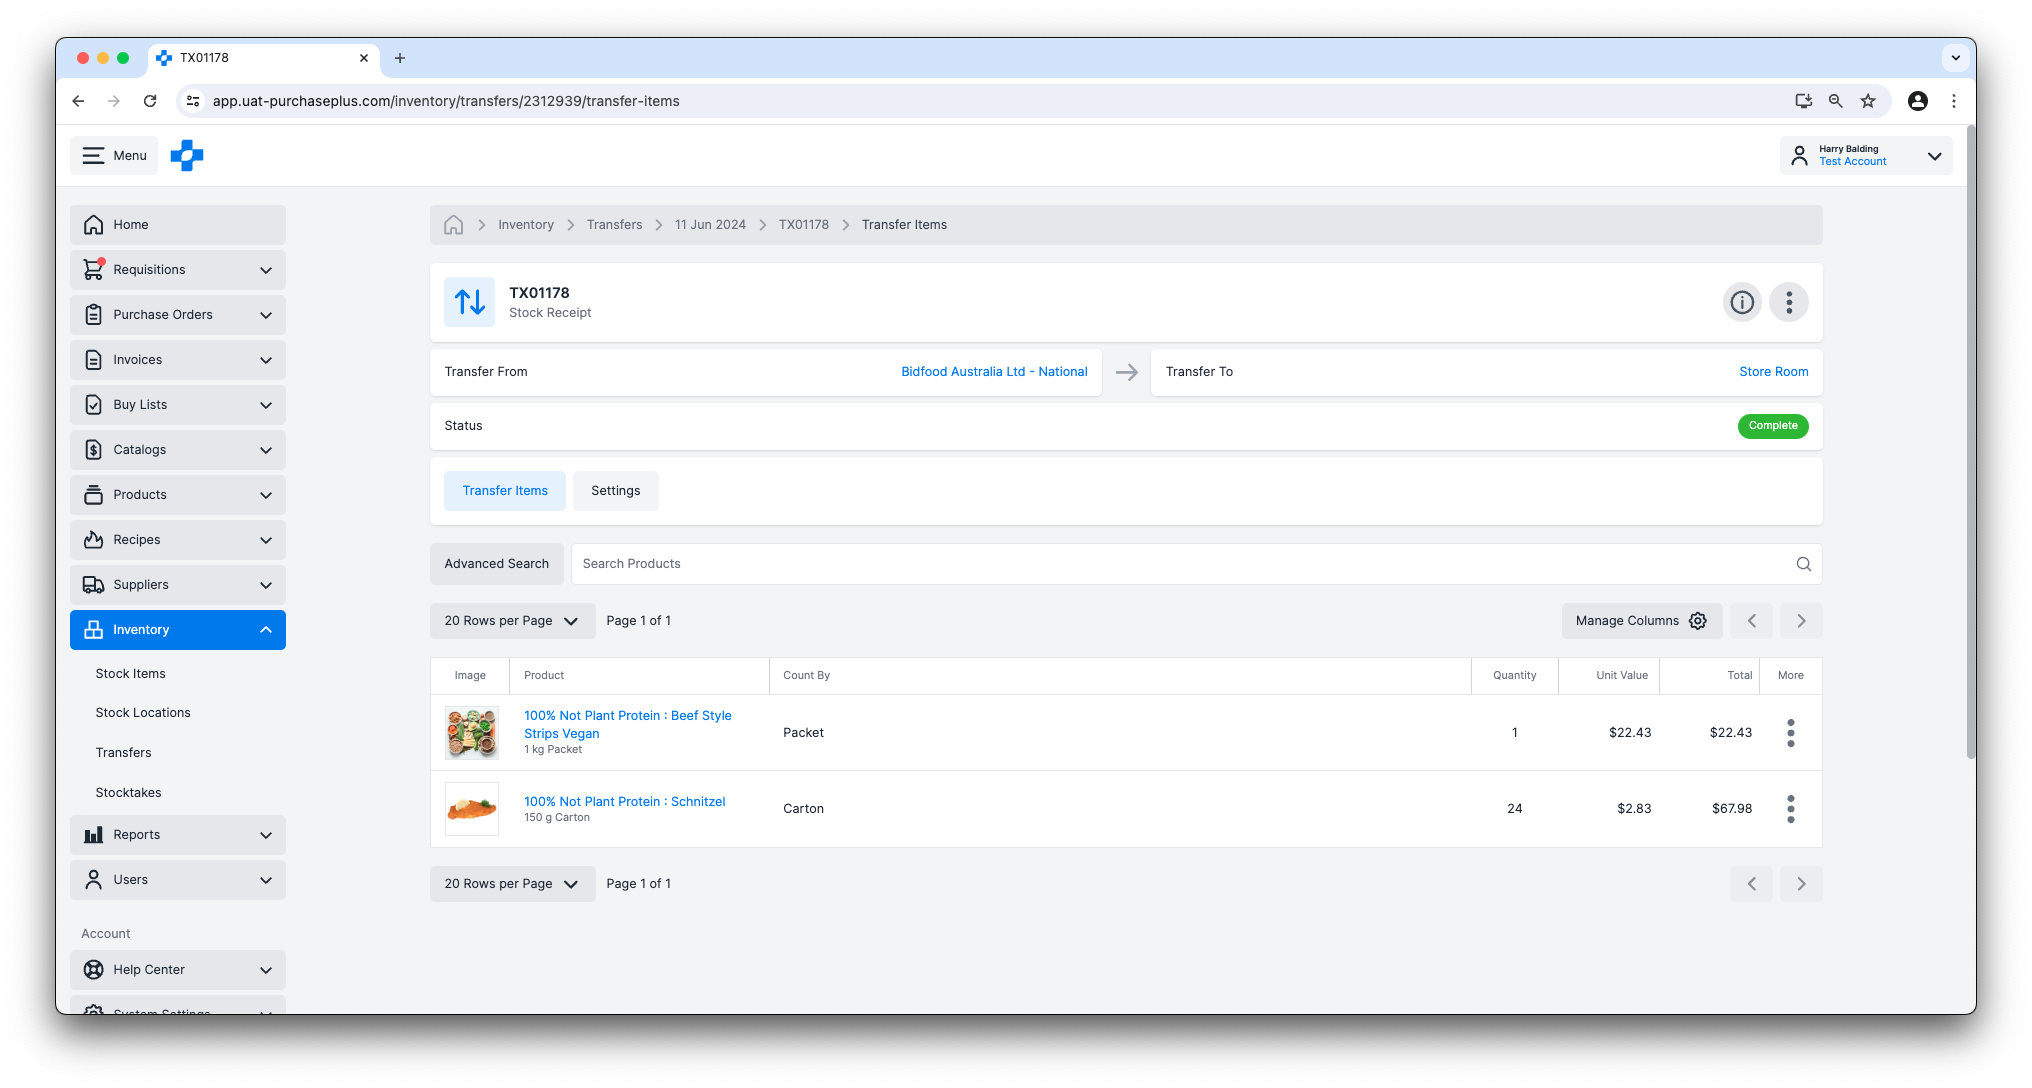
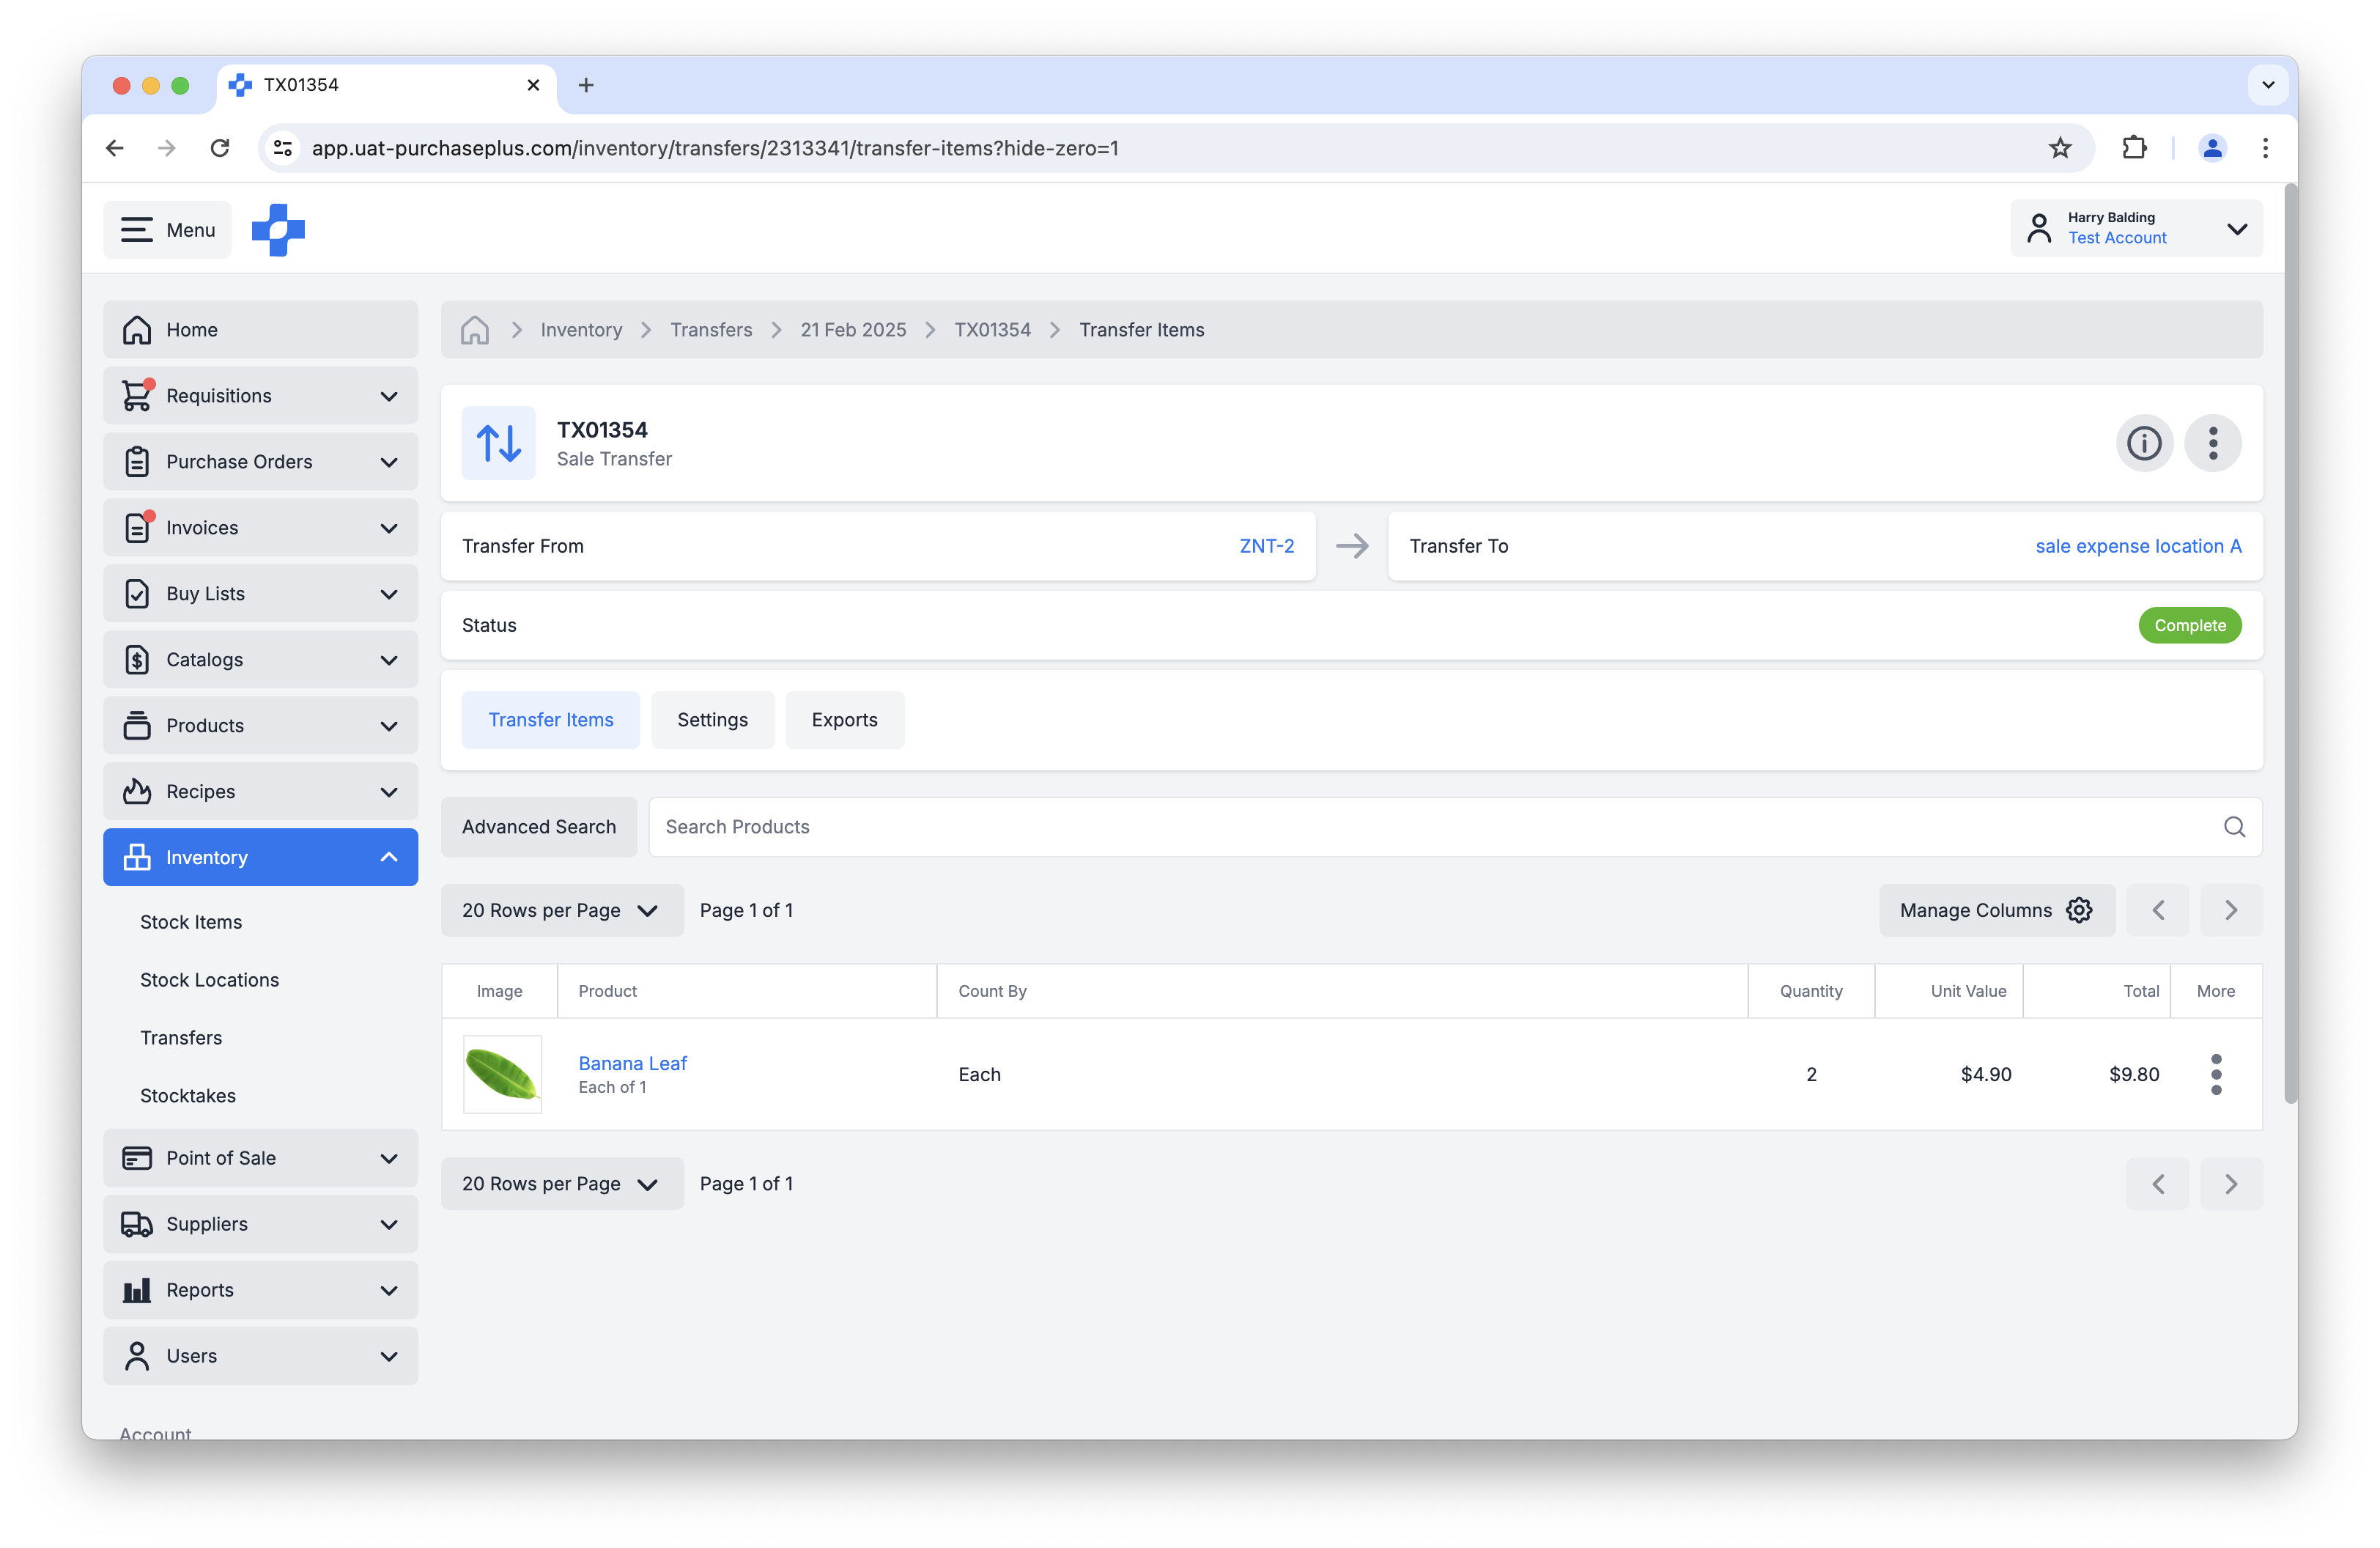
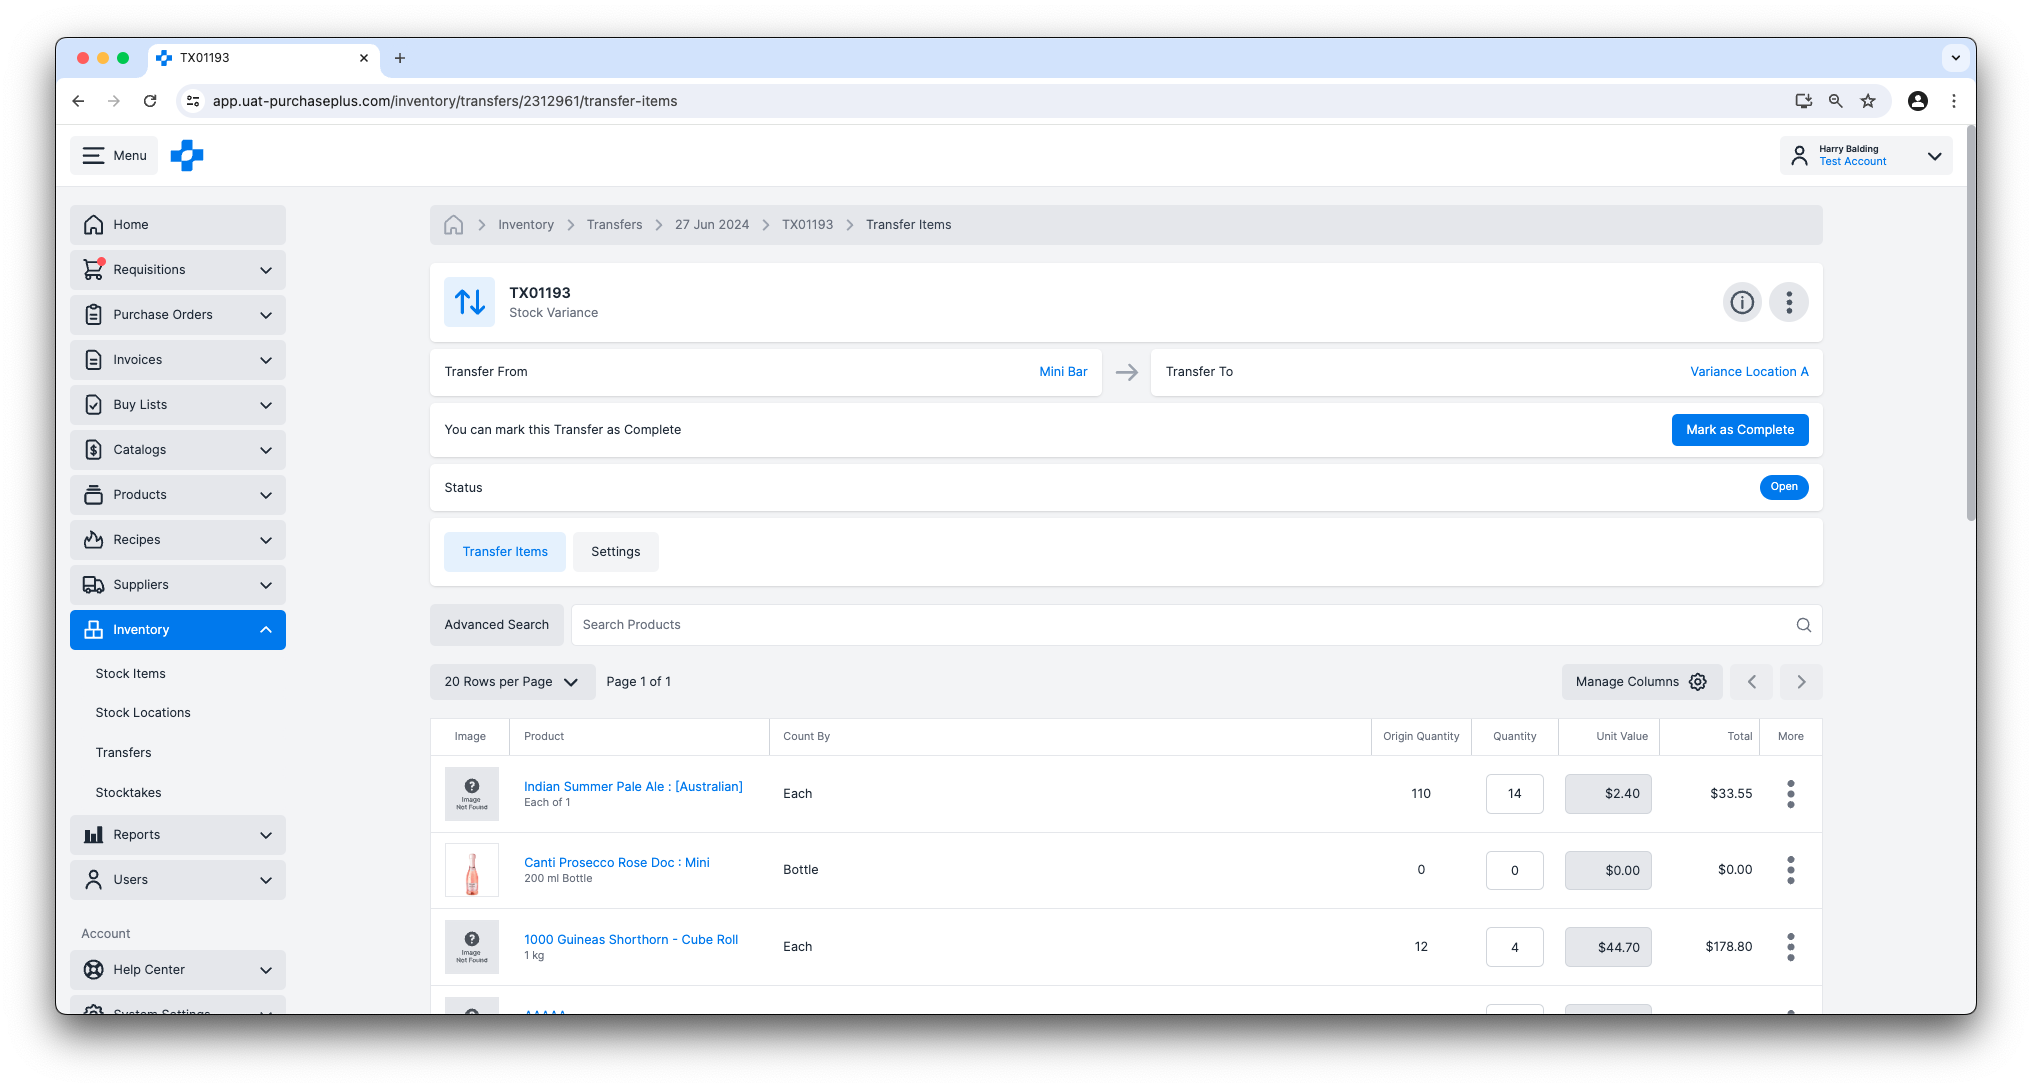
You can click on the Transfer (i.e. 'TX01234') to view a Transfer in more detail, including the Origin, Destination, Stock Items and Quantities included in the Transfer:
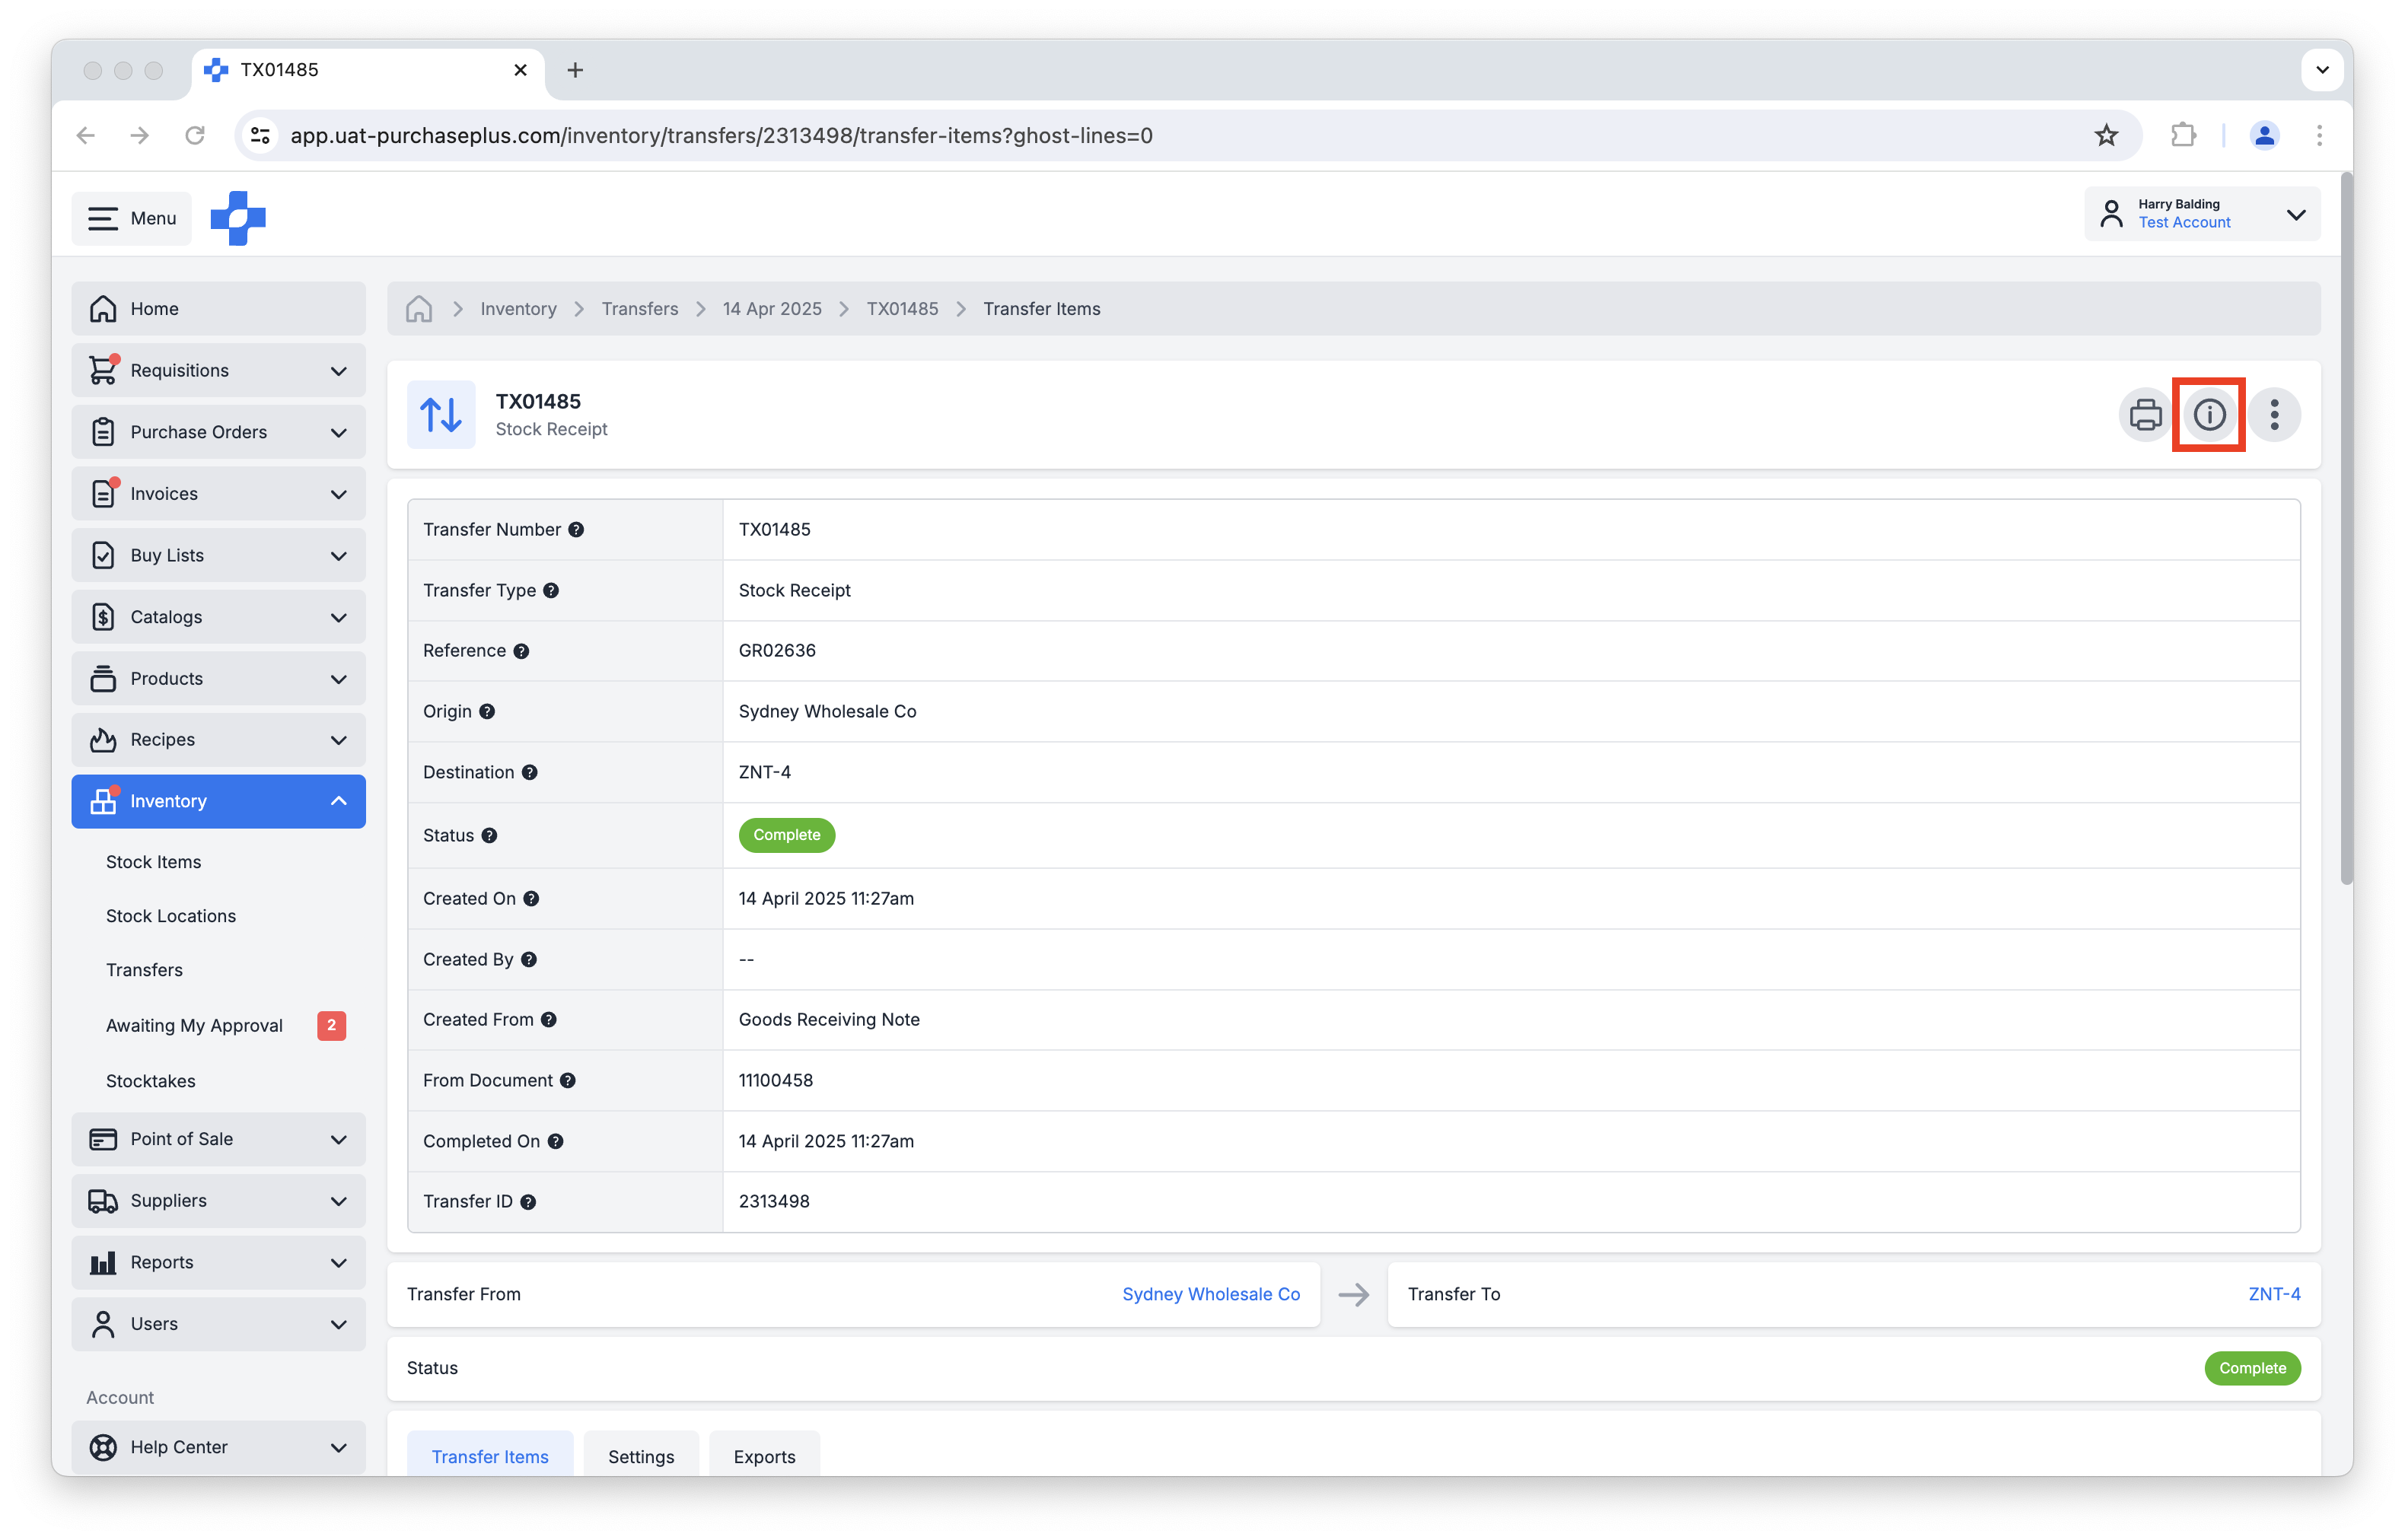
You can view detailed information about a Transfer, for example, the time and date that a Transfer was created, the user that initiated the transfer, or the Document from which the Transfer was automatically generated, by clicking the [Show or Hide Details] button in the header of the Transfer:
Hide Zero Quantity Lines in an Open Transfer
When you are viewing a Transfer in an Open State (e.g. when initially creating the Transfer, or reviewing the Transfer prior to Completion), you will be able to see every Stock Item available in the Origin Location, in case you would like to add it to the Transfer.
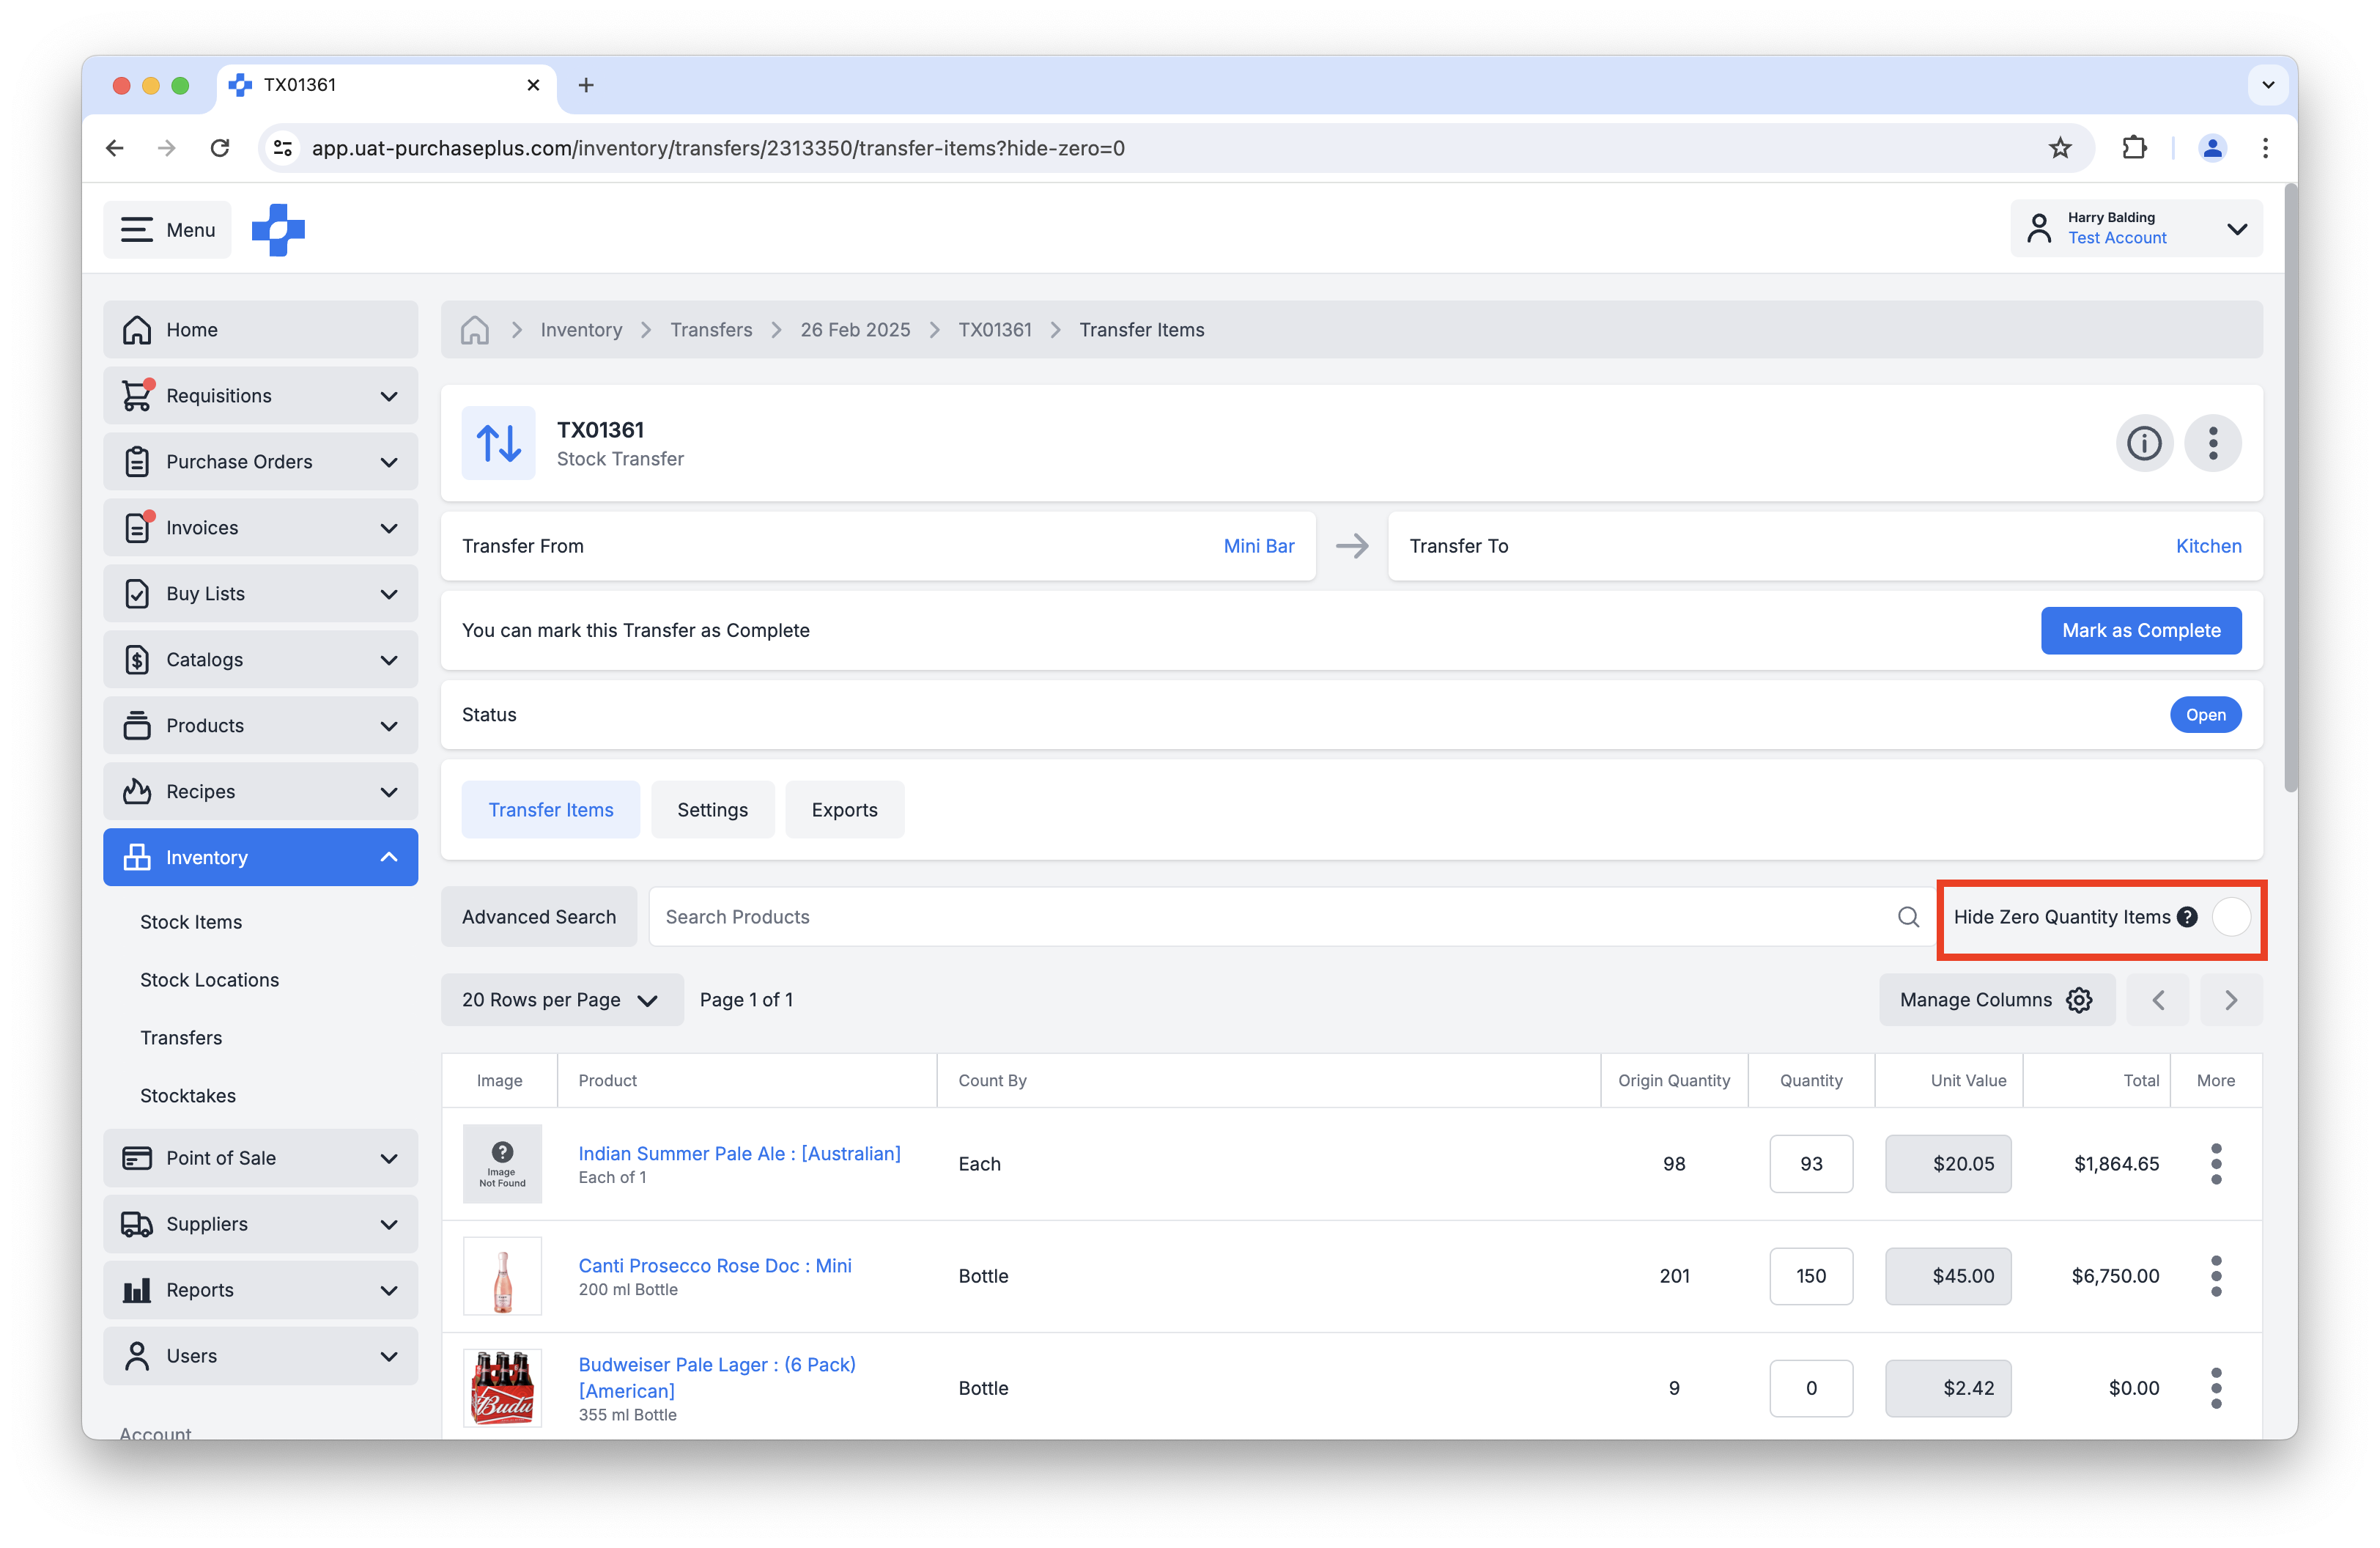
Occasionally, you may wish to hide the Stock Items with a Zero Quantity on a Transfer, to only view the items being Transferred.
You can use the [Hide Zero Quantity Items] checkbox to achieve this purpose:
Print a Transfer
To generate a print-friendly version of a Transfer, click [Print Transfer] in the header of the Transfer:

A browser dialog box will appear, prompting you to select your printer and printing options.
Importing and Exporting Transfers
Importing Transfers
Some Transfers can be populated with data supplied by CSV Upload. If the Transfer Type is either Opening Balance or Stock Adjustment, the [Import Transfer Items] button will appear in the Header of the Transfer:

Please read Create an Opening Balance Transfer via CSV Upload for instructions regarding the CSV format and validation rules, before uploading your CSV.
Exporting Transfers
Any Transfer can be 'exported', meaning that the transfer data (Product data, Quantity, Values) can be downloaded as a CSV.
To Export a Transfer, navigate to the Transfer in question, then click the [Exports] tab. Finally, click [Create New Export] and confirm the action:

Creating and Managing Transfers
Users with the Manage Transfers permission can:
- The recommended method of Creating a New Transfer is by clicking the [Create New Transfer] button at the top right of the [Inventory] → [Transfers] page. Every Transfer requires an Origin and a Destination to be selected, prior to the Transfer being created. Stock Items included in the Transfer will be transferred from the Origin to the Destination, upon completion of the Transfer.
- The [Create New Transfer] form will result in the creation of a Transfer in a the Open state, and Stock Items can be added to the Transfer and some Settings of the Transfer can be modified. For most Transfer types, all of the Stock Items held in the Origin Location will appear on the Transfer, with a Transfer Quantity of zero. The quantity of any Stock Item can be changed to something greater than zero, and this will cause that quantity to be transferred to the Destination Location, upon completion of the Transfer.
- Any Transfer in the Open state can be edited by a user with the Manage Transfers permission. Additionally, permitted users may update the Destination Location of a Transfer in the Open state.
- An Open Transfer can be Cancelled by clicking the [More] menu in the Transfers table, then clicking [Cancel Transfer].
- Additionally, Transfers can be Created from a Stock Location. Learn More.
Completing Transfers
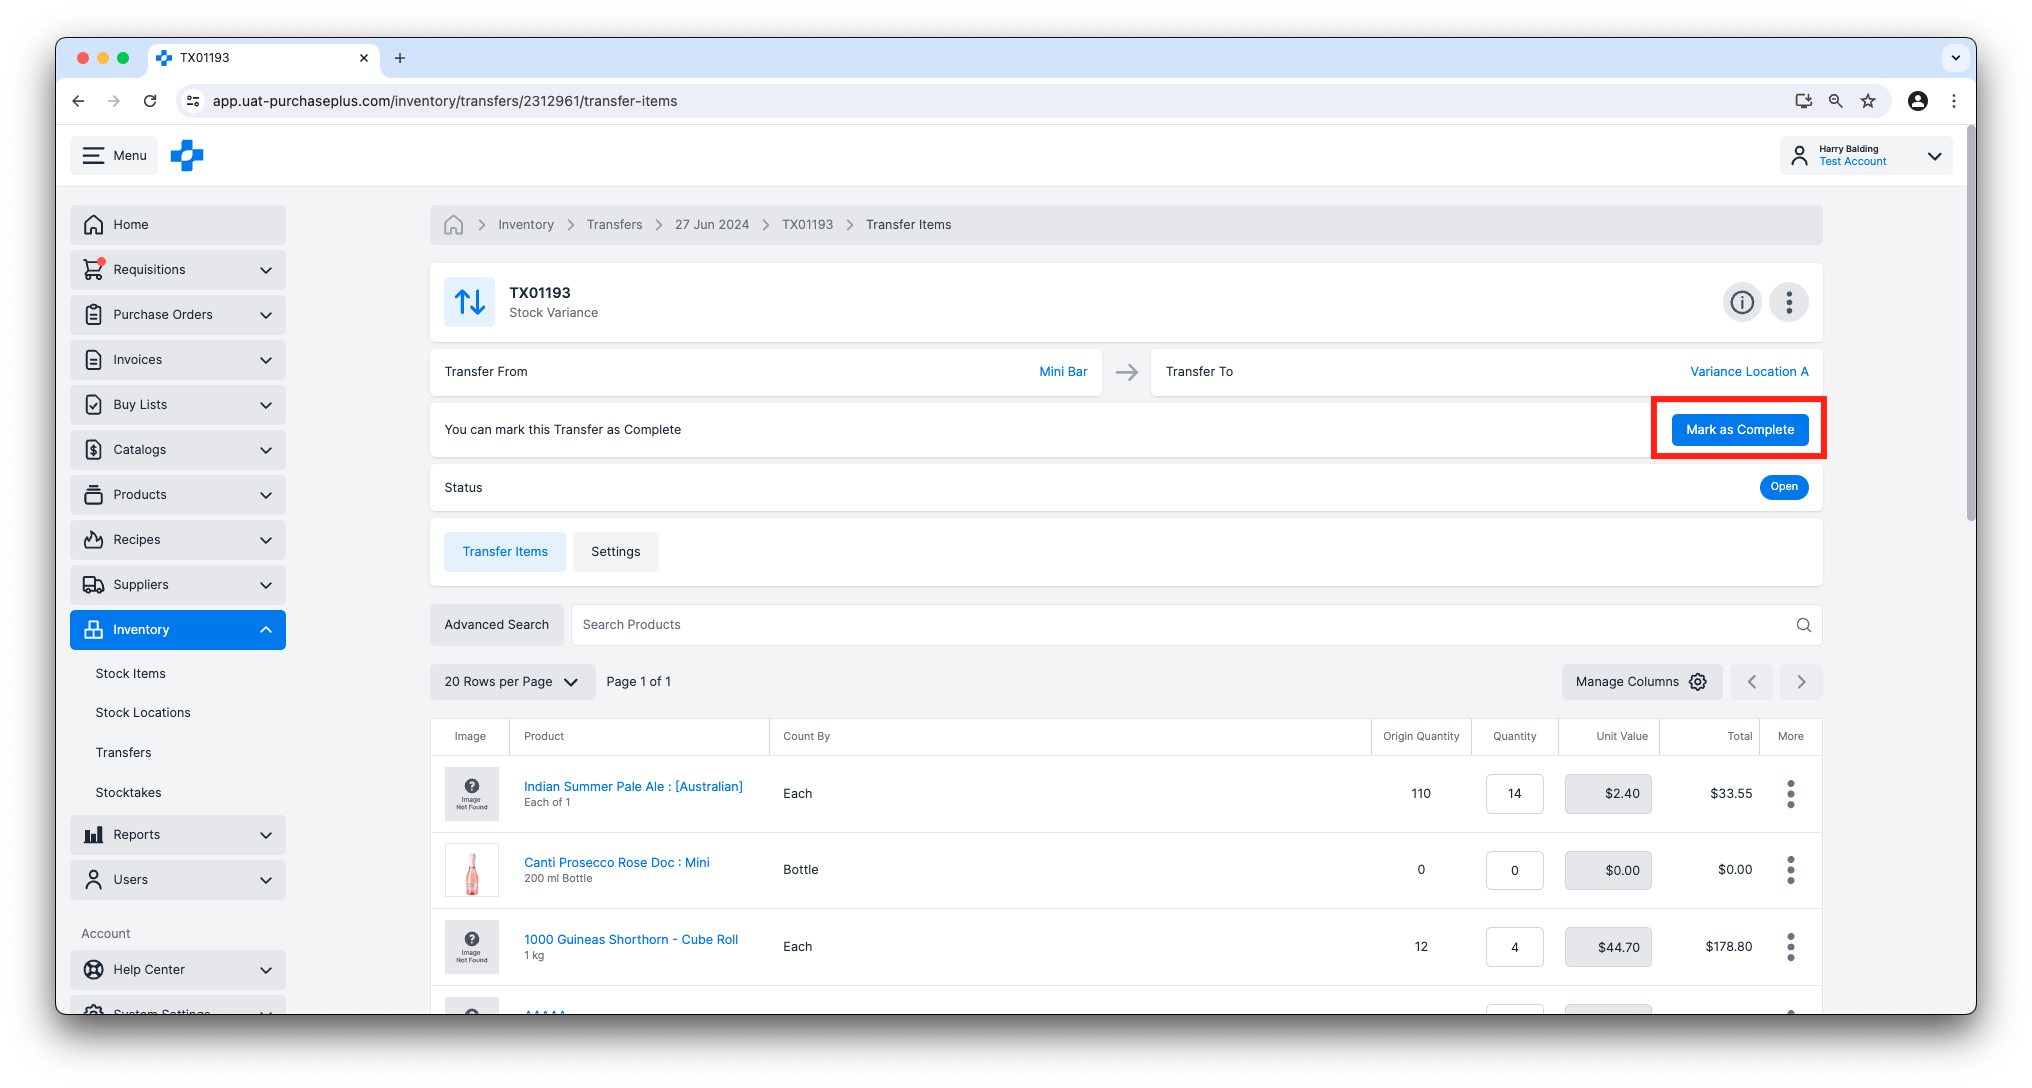
Marking a Transfer as Complete, will decrement the quantities of Stock Items in the Origin Location and Increment the Stock Items at the Destination Location), click the [Mark as Complete] button in the header of the Transfer Note. Once in the state of Complete, the Transfer cannot be cancelled or reversed, as the movement of Stock Items and all of the important calculations resulting from this, have been actioned. This ability is controlled by the ‘Complete Transfers’ permission.
Transfer Logs
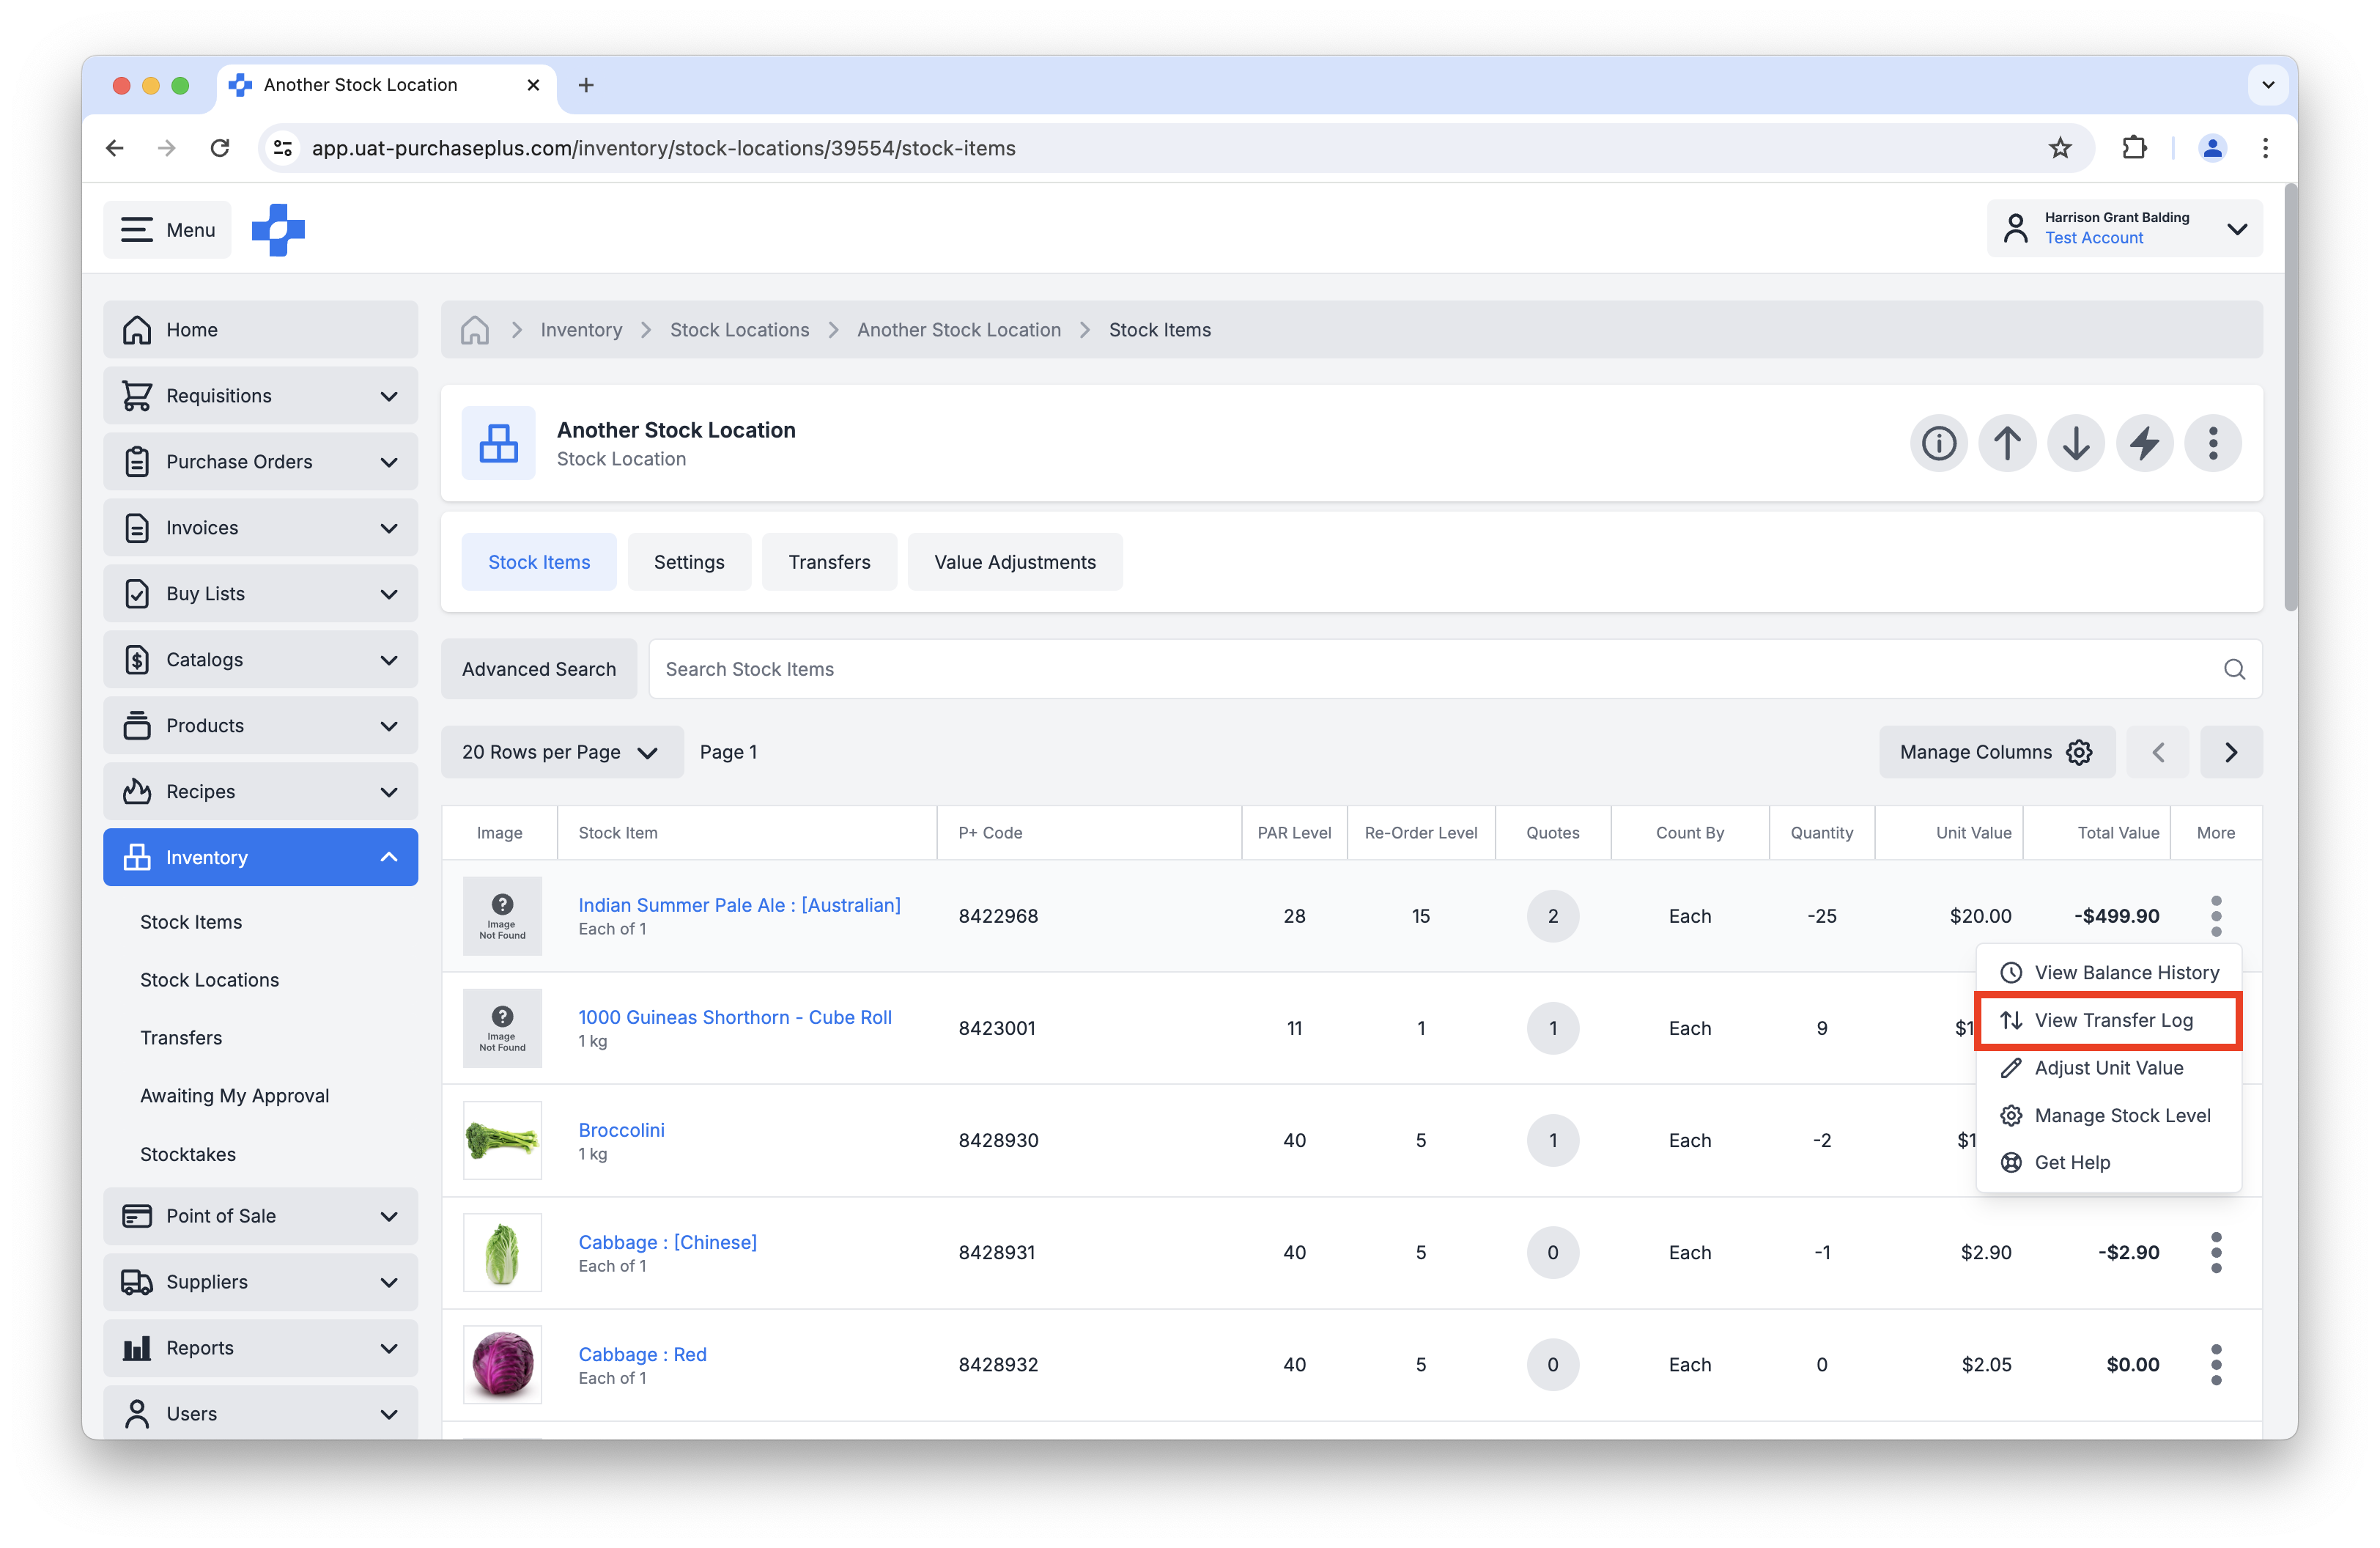
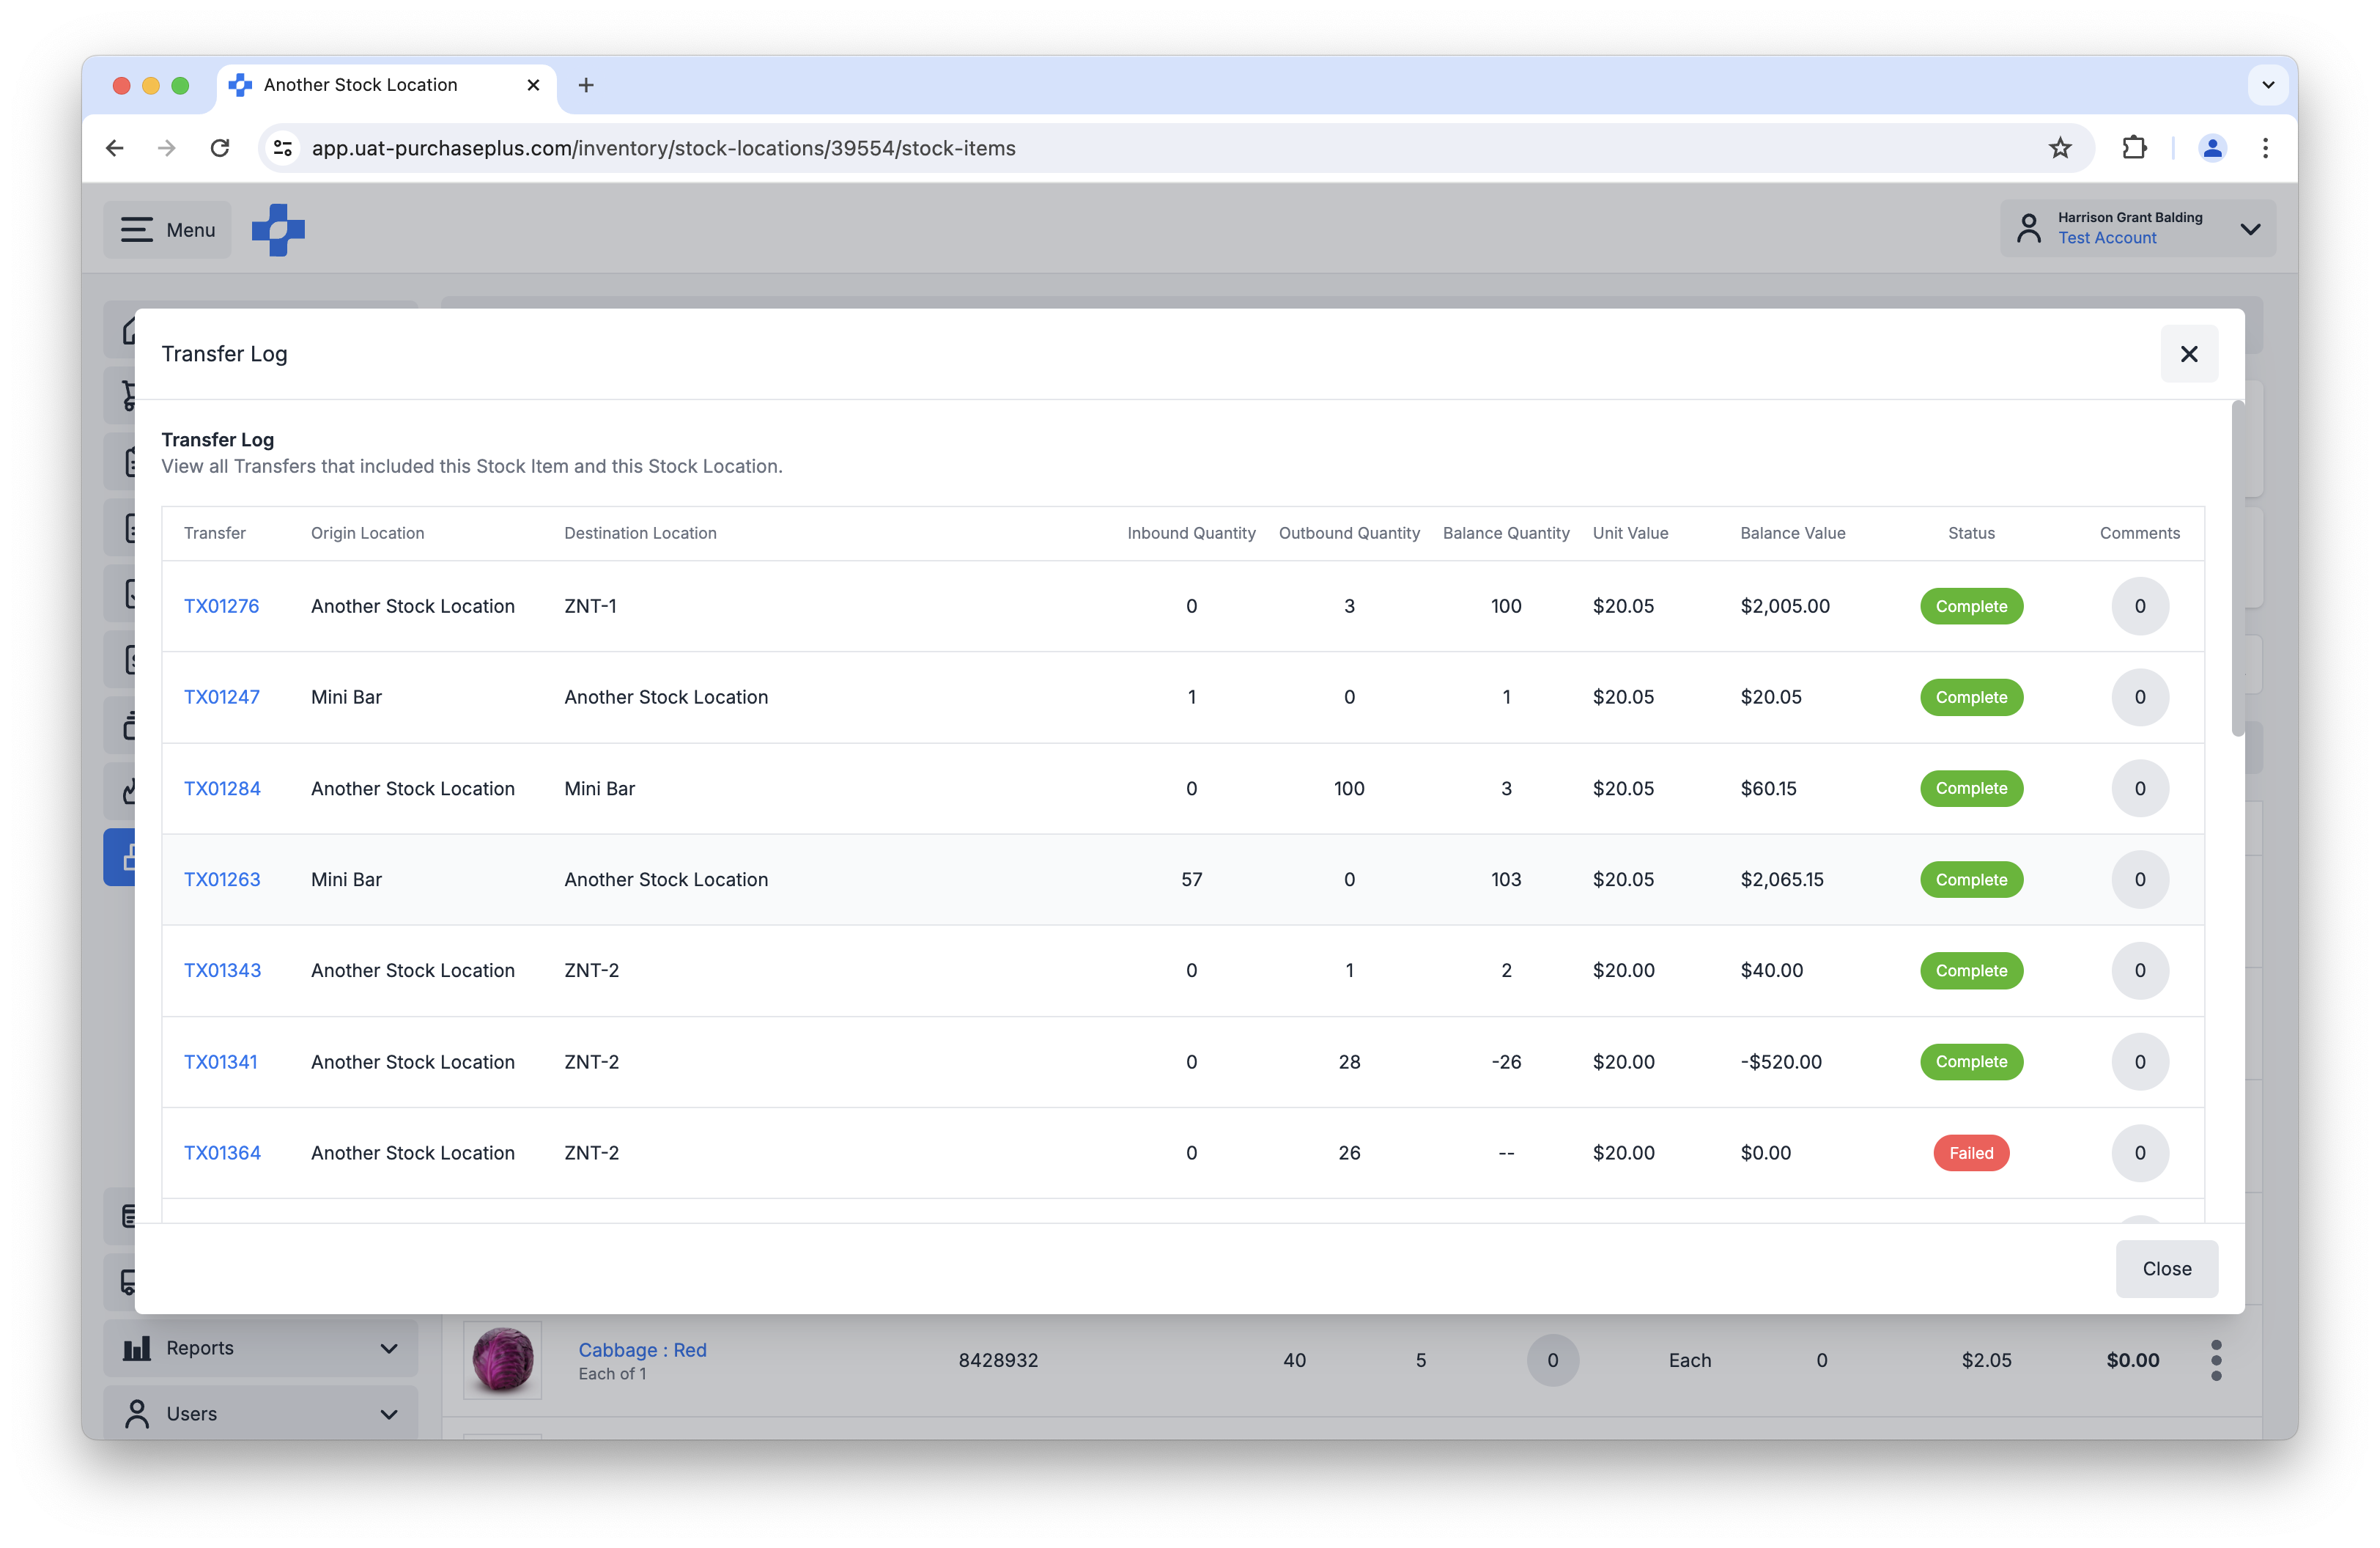
Please Note: Transfer Logs are specific to a Stock Item within a Stock Location - i.e. you cannot view a Transfer Log on a Stock Item across all of your Stock Locations in a single view.
This is Part 4 of our Introduction to Inventory series.
- Read Introduction to Inventory, Part 1
- Read Introduction to Inventory, Part 2: Stock Items
- Read Introduction to Inventory, Part 3: Stock Locations
- Read Introduction to Inventory, Part 5: Stocktakes
How do I start using the Inventory Module?
If your Organization would like to begin using the PurchasePlus Inventory module, please contact your Account Manager or our friendly Customer Success Team for assistance with enabling the module, and to organize training for your users.
Note for Purchasers using Legacy PurchasePlus
The Inventory module in New PurchasePlus has been redesigned, and is materially different to the Legacy PurchasePlus Inventory module. Organizations migrating from our Legacy PurchasePlus platform to our New PurchasePlus platform will be given additional migration support.